360° action camera xtra Drone Nerds Jun 3, 2026 5:43:07 PM 8 min read
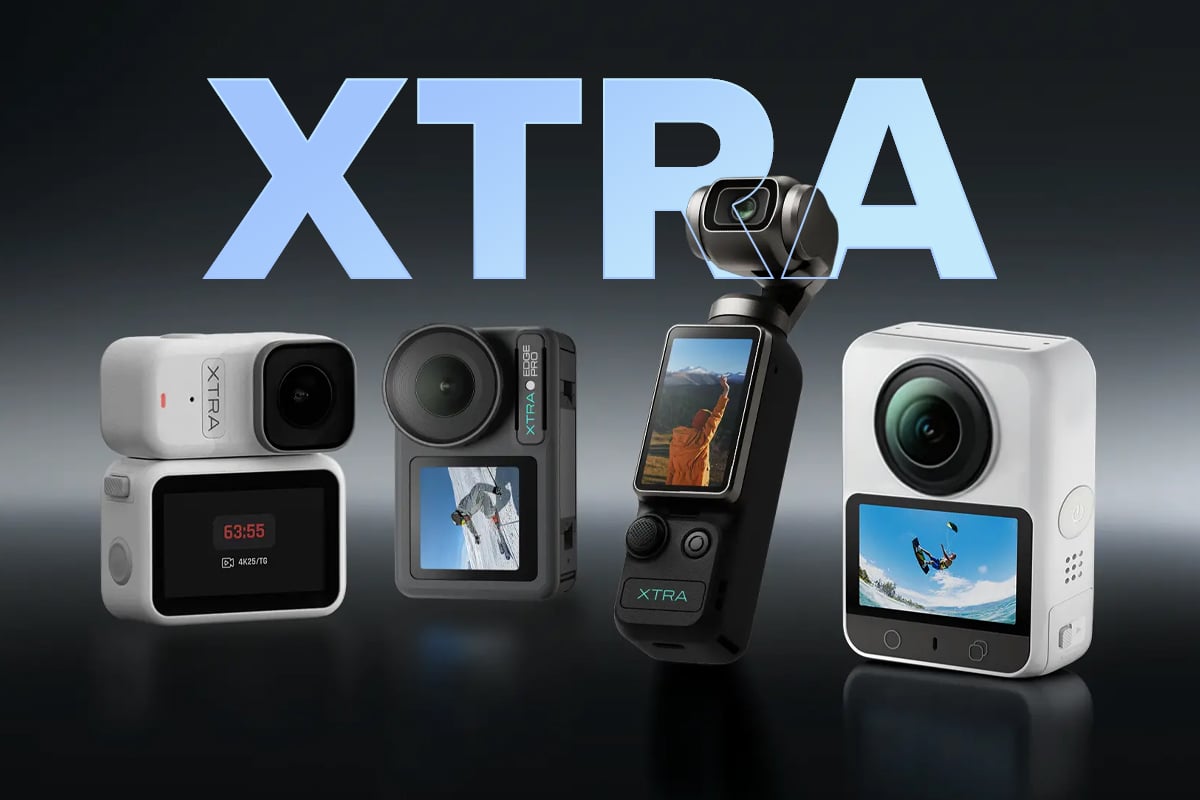
Xtra: Portable Cameras for Action, Travel, and 360° Capture
DJI Avata 360° action camera Drone Nerds May 22, 2026 12:59:49 PM 4 min read
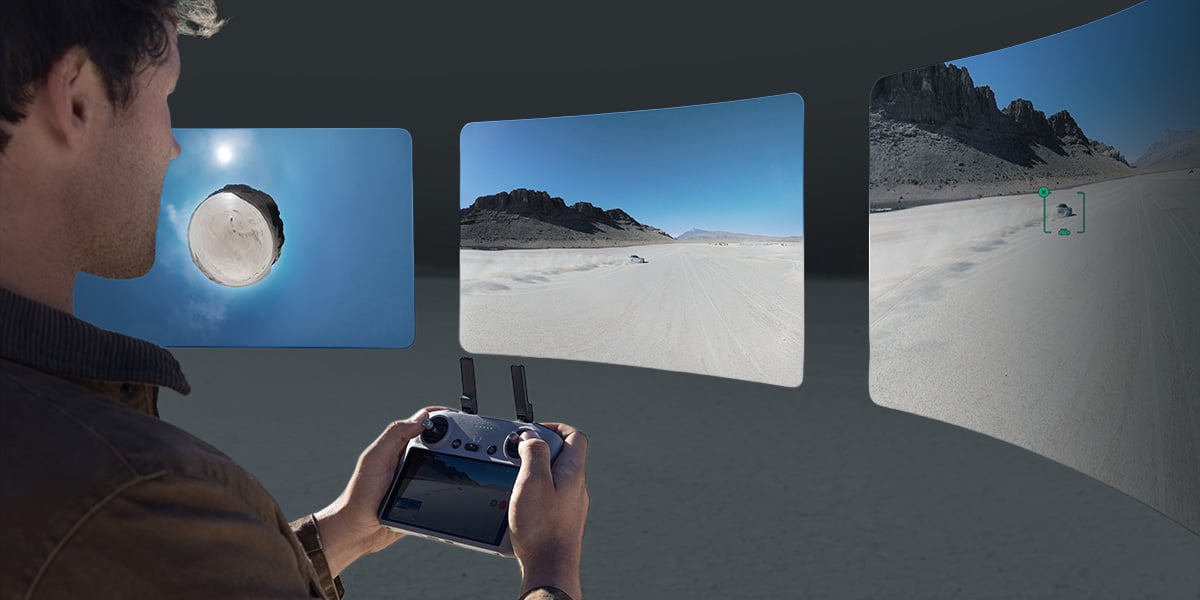
DJI Avata 360: Is the 8K 360° Drone Right for You?

3D Printer SPARKX i7 Creality Drone Nerds Mar 6, 2026 12:25:02 PM 2 min read