Enhanced Drone Photography—ND Filter Basics

Neutral Density filters, commonly known as ND filters, are great accessories that can help creators capture incredible aerial photography and videography, regardless of weather or lighting conditions.
Some of the most popular ND filters on the market have been developed by DJI for their Mavic series drone and professional-grade cinematography gimbals, like the Ronin 4D. Let’s take a look at what ND filters are, and how they can elevate even the most basic drone photography into professional imagery.
As the name would describe, ND filters are lenses that can be attached to the front of the camera lens of a drone or camera. They reduce the amount of light that enters the camera, changing the exposure of the final image. This works exceptionally well when trying to highlight movement in an image, which is great for outdoor and dynamic photography. Keep in mind that overexposure, even when working with ND filters, is linked to the proper use of the ideal shutter speed, ISO, and aperture for your shots. For example, you can combine an ND filter and a fast shutter speed to capture a more natural motion blur, allowing you to take more dynamic footage of moving objects. On the contrary, a lower shutter speed will enhance a blur effect; if you combine an ND Filter and a slow shutter speed, you may end up with a very blurry photo.
While ND filters may be easy to attach to the camera lens, the user must know how to properly use them and have a basic understanding of the triangle of exposure. ND filters affect the shutter speed and the amount of light that enters through the camera lens—if you don’t know how to use them properly, your images can become messy. Since an ND filter is just that –a filter– you will need to consider how long you need to allow the right amount of light to filter into the camera; meaning that the darker your filter, the longer you will need to have your shutter open to allow in the right amount of light. ND filters also allow you to have a larger aperture, supporting brighter light filtration without overexposing the image—this results in sharp, focused images. When used properly, ND filters will allow you to enhance aerial imagery, but if used incorrectly, your results will be blurry, dark, or underexposed images from improper light penetration.
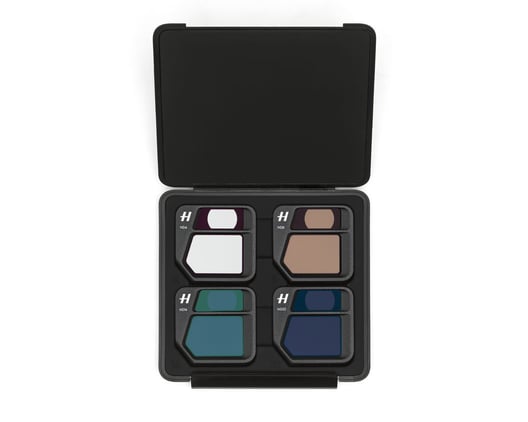
 DJI has mastered the use of ND filters, particularly with the Mavic 3 Cine drone. The premium combo comes with several ND filters (4, 8, 16, 32, 64, 128, 256, and 512). In order to use the ND filter with a DJI drone, you have to set the camera function to “manual” on the DJI Fly app; the purpose of this is to prevent the camera from autocorrecting exposure levels digitally.
Once that is set, you will need to ensure that all of your desired specifications, including ISO or Shutter Speed, have been selected. At this point, you can pick and choose the filter you want to use. Before making any adjustments to your camera settings, make sure your drone is off—this will help prevent any damage to the aircraft.
Drones are incredible equipment and have allowed content creators, photographers, and videographers to elevate their work and create truly mesmerizing imagery. ND filters are just another accessory that can help create flawless, professional-grade imagery.
Take a look at some of the latest DJI releases, including the Mavic 3, Mavic Air 2S, and Ronin gimbals.
View the latest ND filter sets and accessories for the Mavic 3 here.
Want to see what ND filters can do on a Mavic 3? Check out our video:
